Overview

This article will explain how to manage menus from all your stores. You will learn about:

Editing menu

Both

Web POS

and

Android POS

provide the ability to edit menus from all your stores. To make changes using a web browser, use Web POS; to edit using your smartphone, use Android POS.

The menu must be reloaded for changes to take effect. See Reloading menu.

Rearranging menu items

Depending on popularity, availability or meal time (breakfast, lunch, dinner), you may want to rearrange your menu for easy accessibility.

Let's say cappuccino is one of the most popular hot beverages during breakfast. Therefore, during morning hours, you can put cappuccino at the top. For lunch and dinner, you can replace it with main course items.


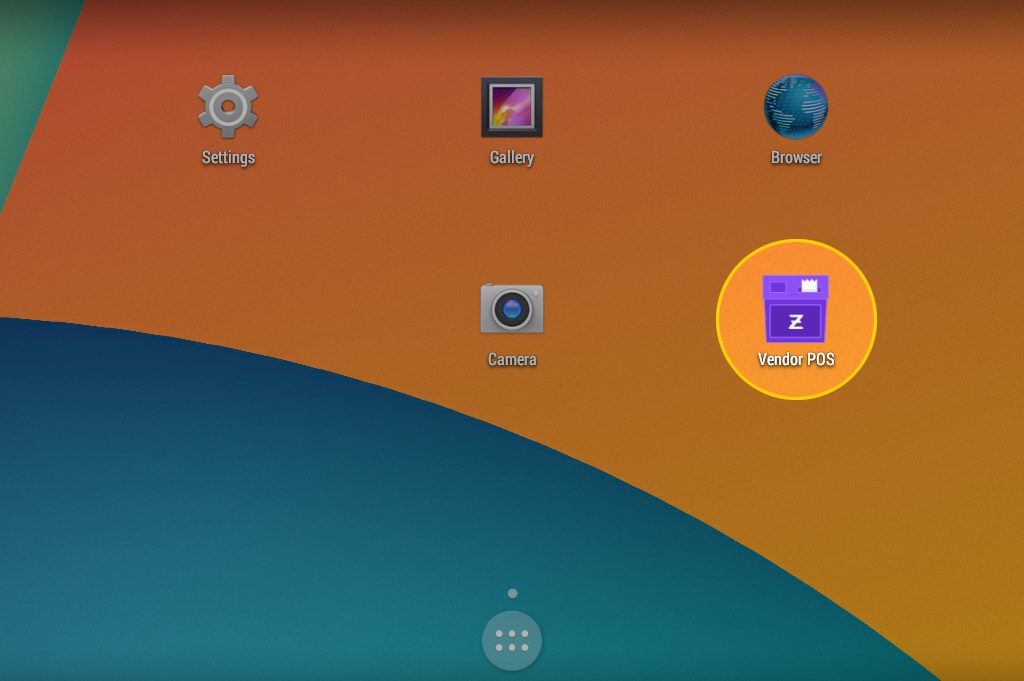
  1. On the POS home screen, tap Vendor POS app icon.
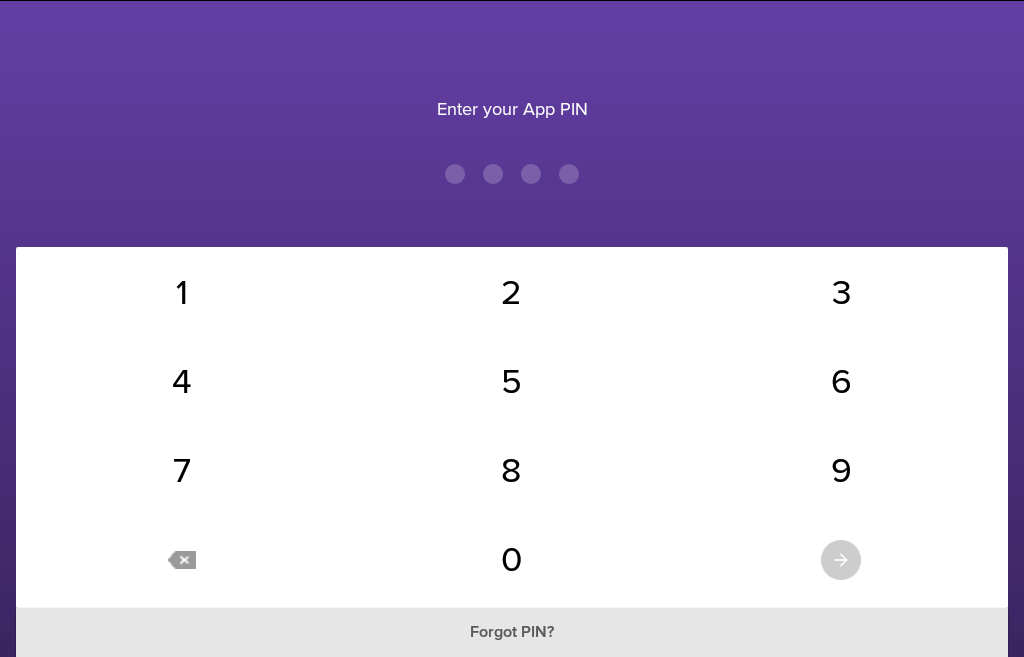
  2. Enter Vendor POS PIN to log in.


    If you have forgotten your PIN, see

    .


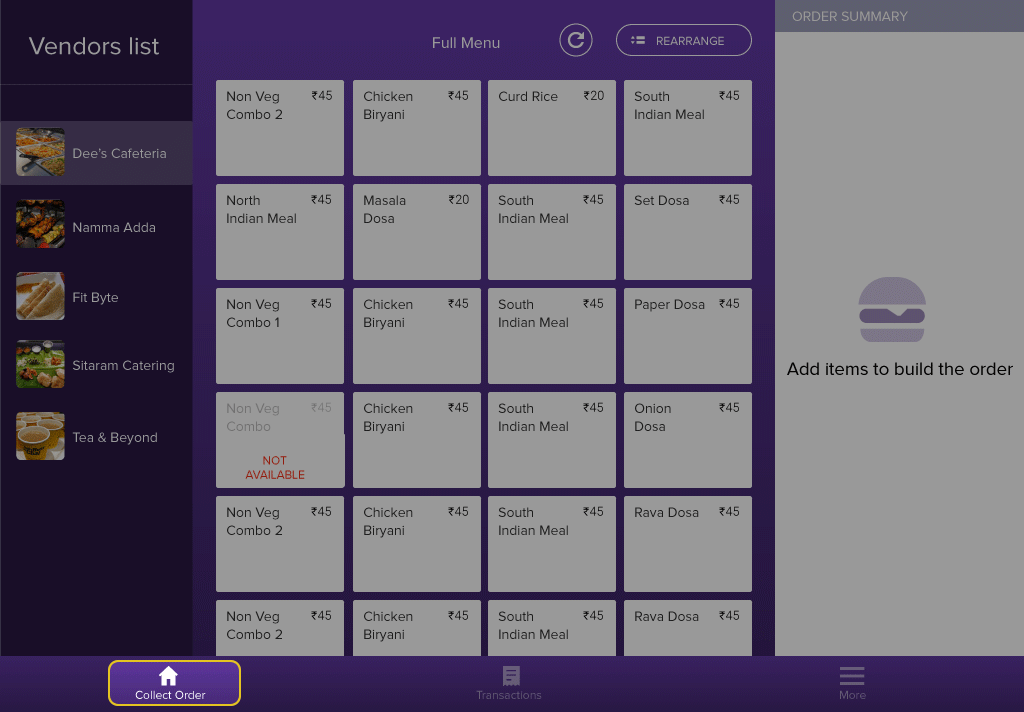
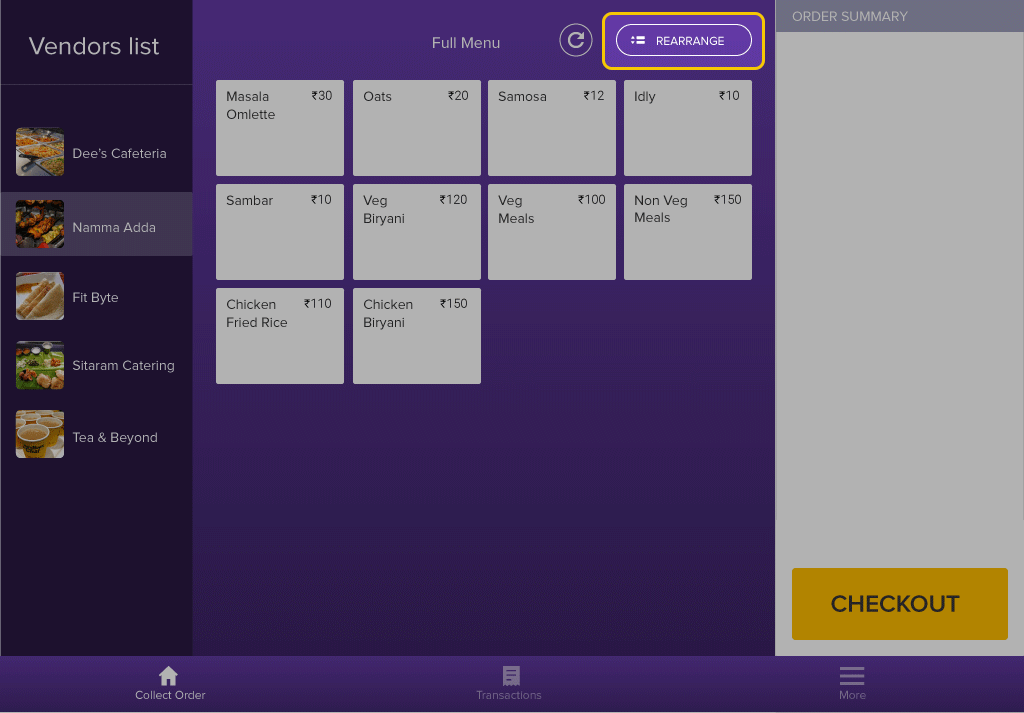
  3. The Collect Order tab is displayed by default. If not, tap Collect Order at the bottom.
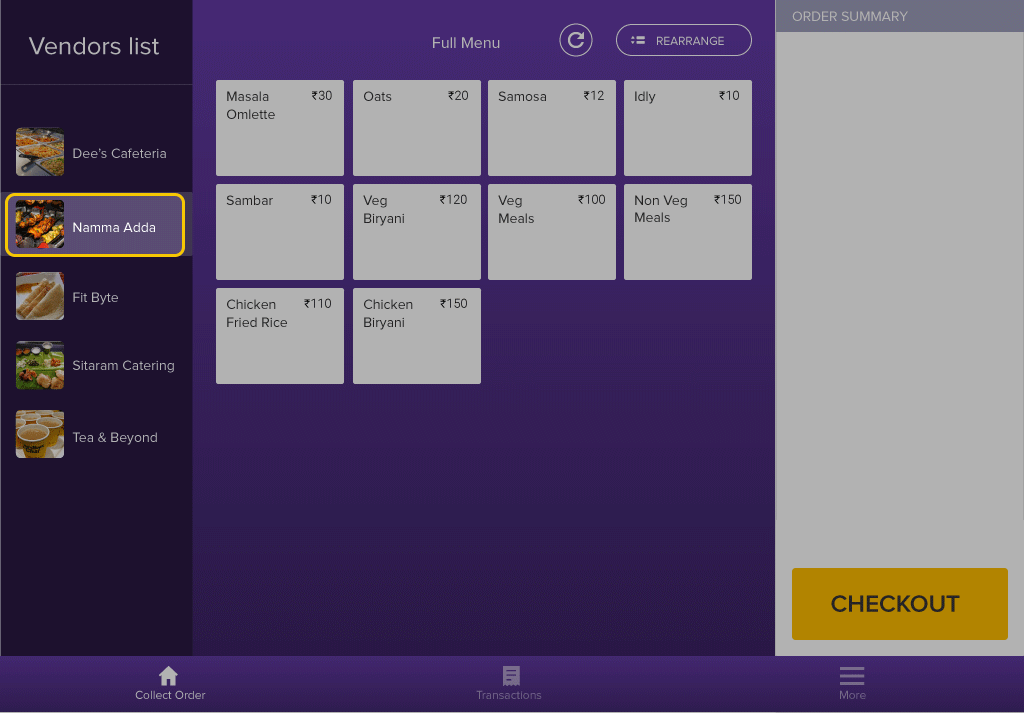
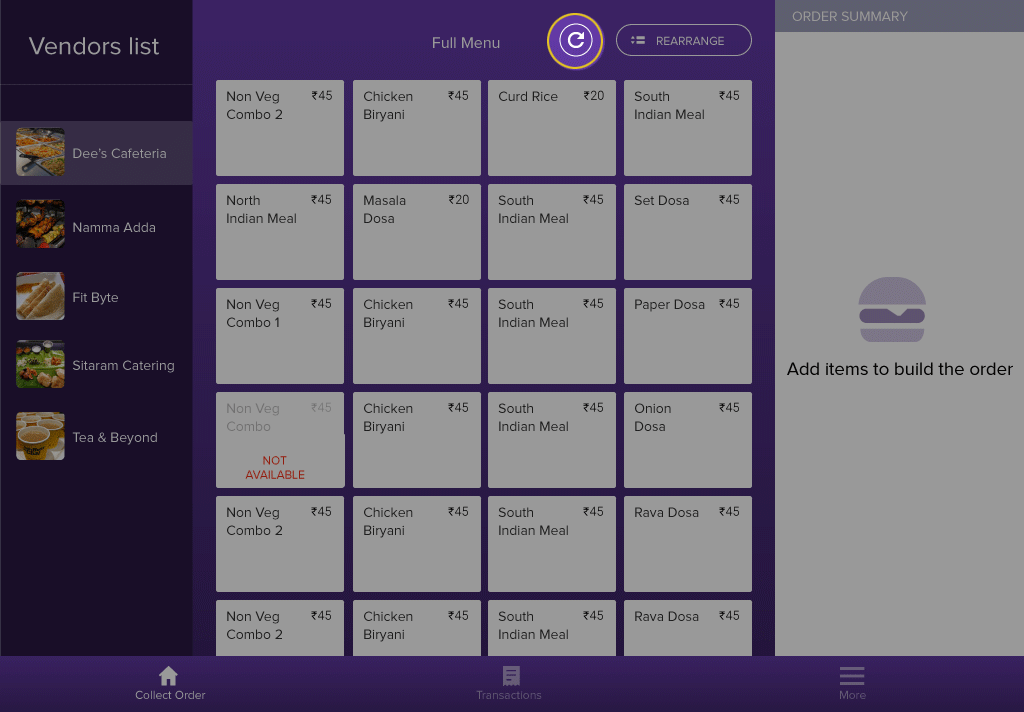
  4. In the Vendors list pane, click the store name for which you want to rearrange the menu.
  5. At the top-right of the Full Menu pane, tap Rearrange.
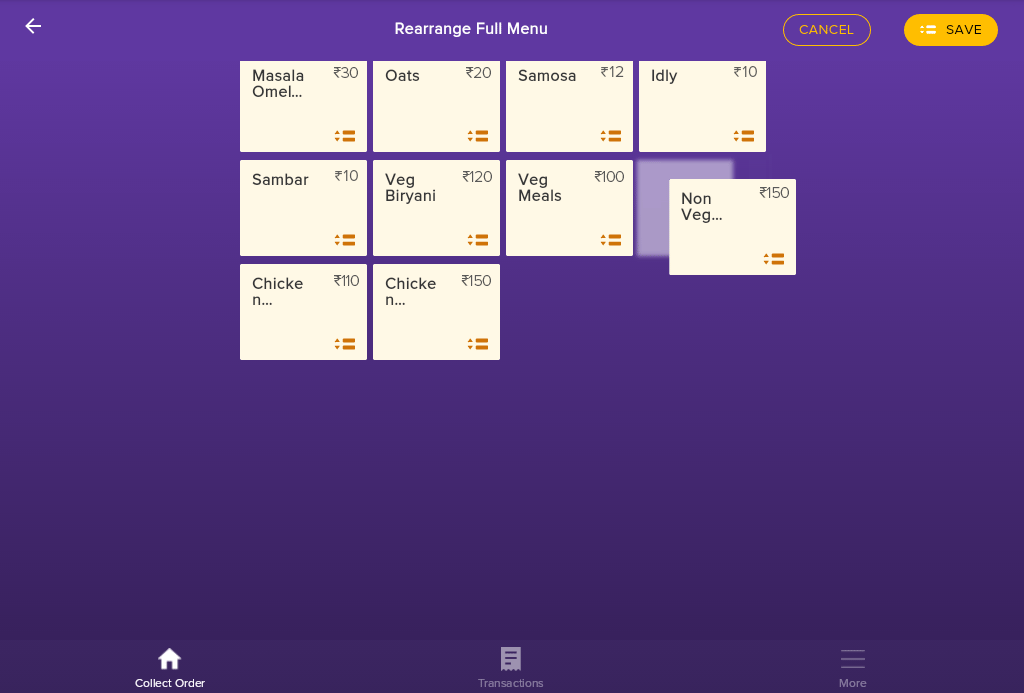
  6. The Rearrange Full Menu screen is displayed. Tap and hold the menu item you want to move.
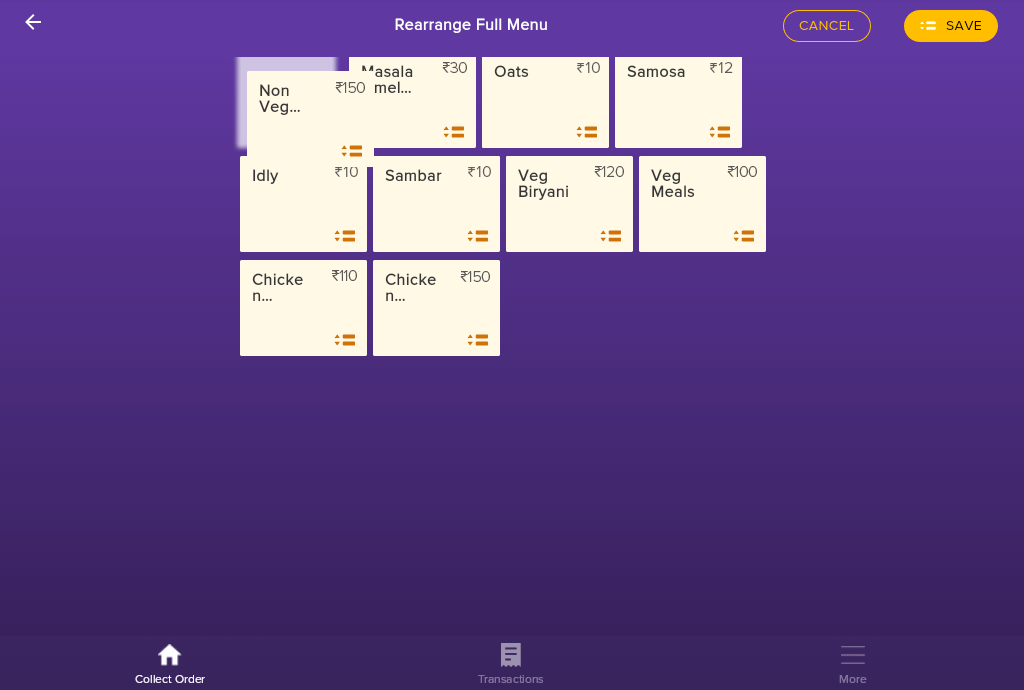
  7. Drag the menu item to the new location and release.
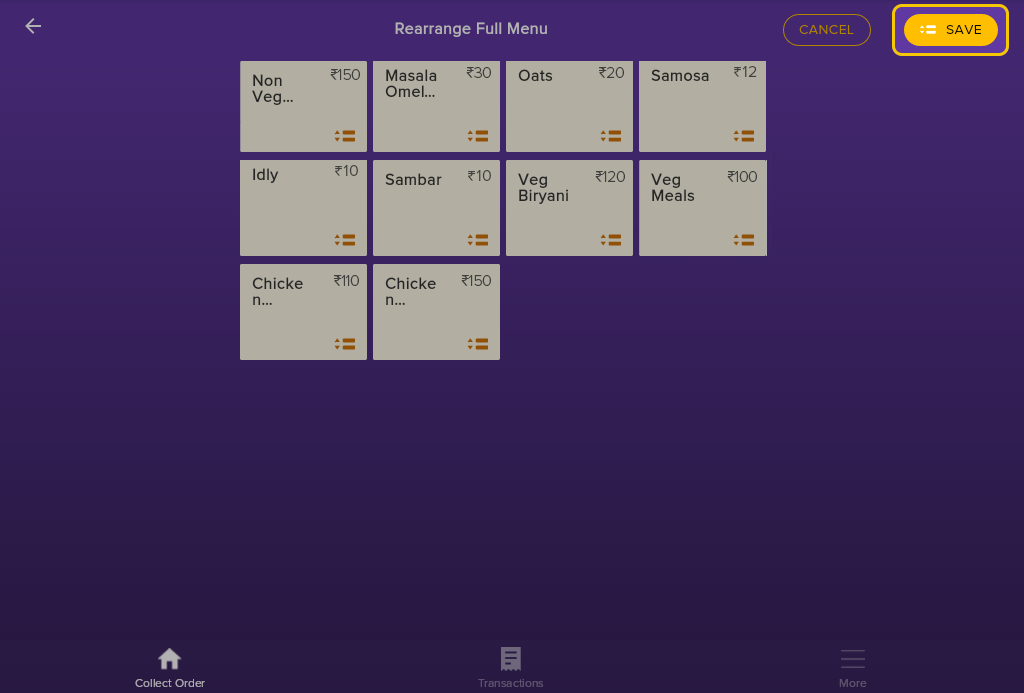
  8. At the top-right, tap Save to save the new menu arrangement.
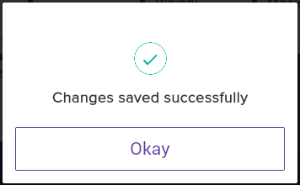
  9. Tap Okay to go back to the main Collect Order screen.


Reloading menu

If you have made any changes to your menu, the menu needs to be reloaded for changes to take effect.


  1. On the POS home screen, tap Vendor POS app icon.
  2. Enter Vendor POS PIN to log in.

    If you have forgotten your PIN, see

    .


  3. The Collect Order tab is displayed by default. If not, tap Collect Order at the bottom.
  4. In the Vendors list pane, click the store name for which you want to reload the menu.
  5. At the top-right of the Full Menu pane, tap

    .


    The updated menu is displayed.


On this page:


Related Articles: